显示标签为“inductionsolderingmachine”的博文。显示所有博文

2024年4月2日星期二

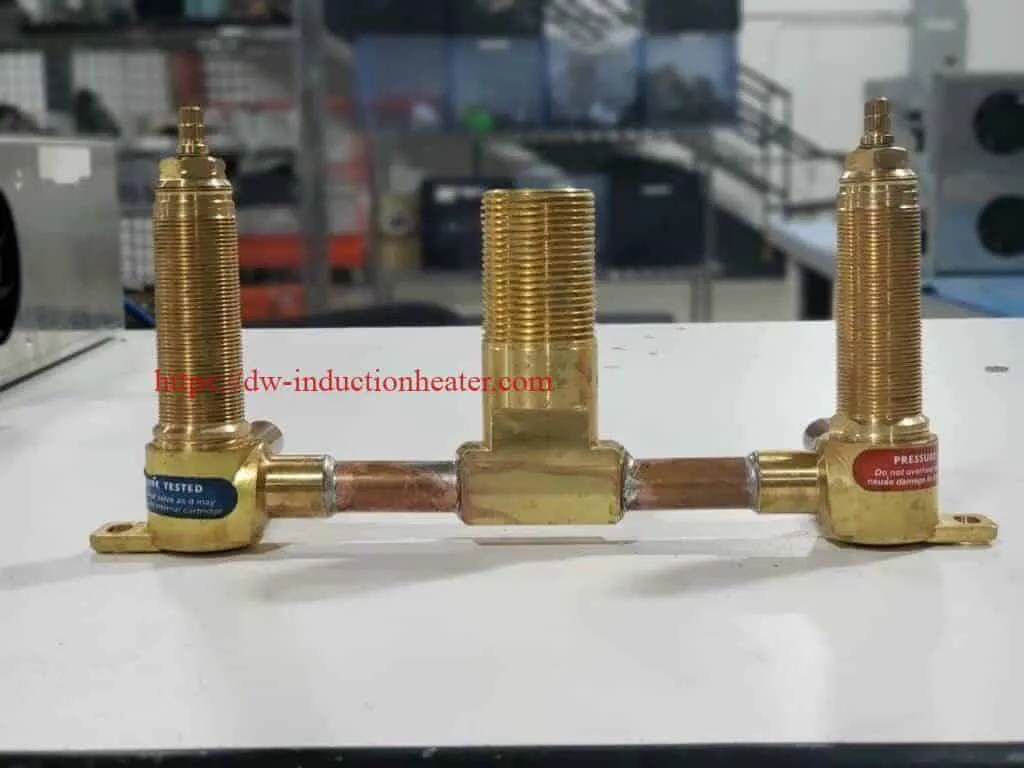
induction soldering copper tubing to brass valves

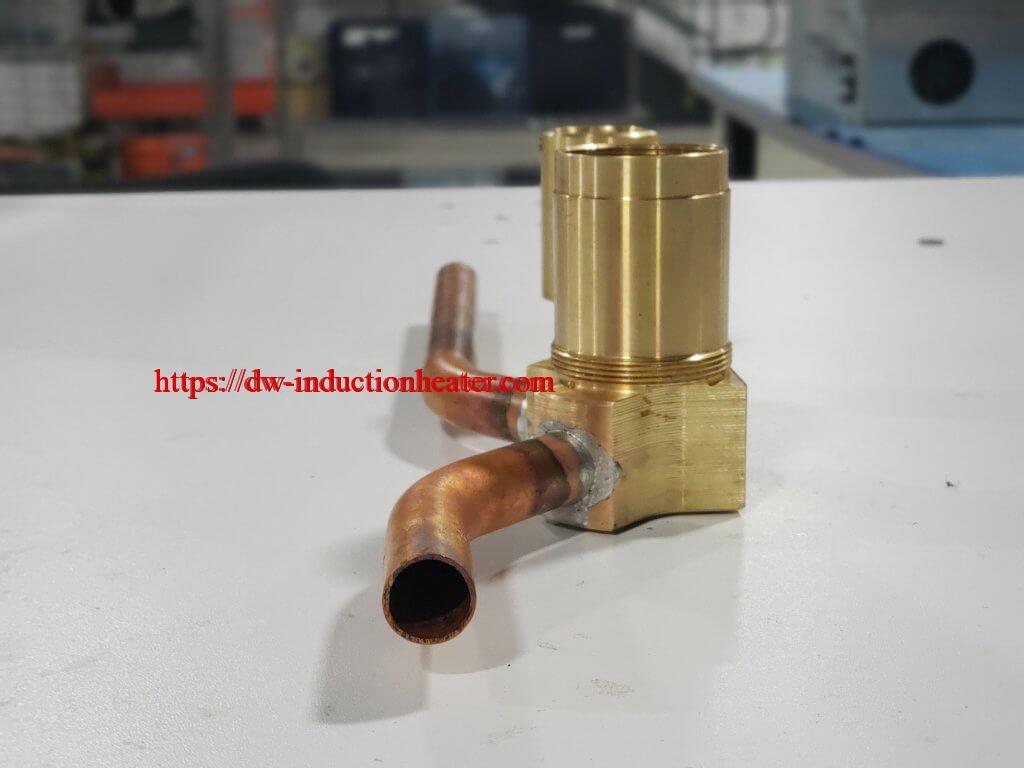
High frequency induction soldering copper tubing to brass valves

Objective: Test: Induction Soldering copper tubing to brass valves Industry: HVAC Materials: Copper and brass pipes
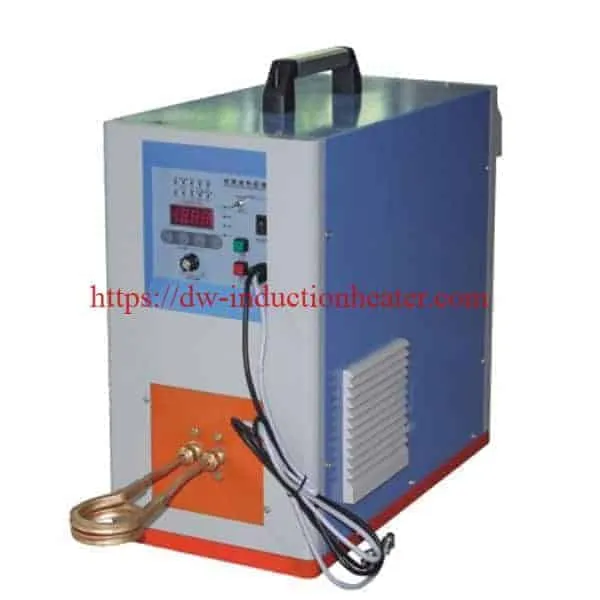
Equipment: DW-HF-25kw induction heating machine Power: 16 kW Temperature932oF (500oC) Time: 20 seconds Coil: Coated custom-made coil.
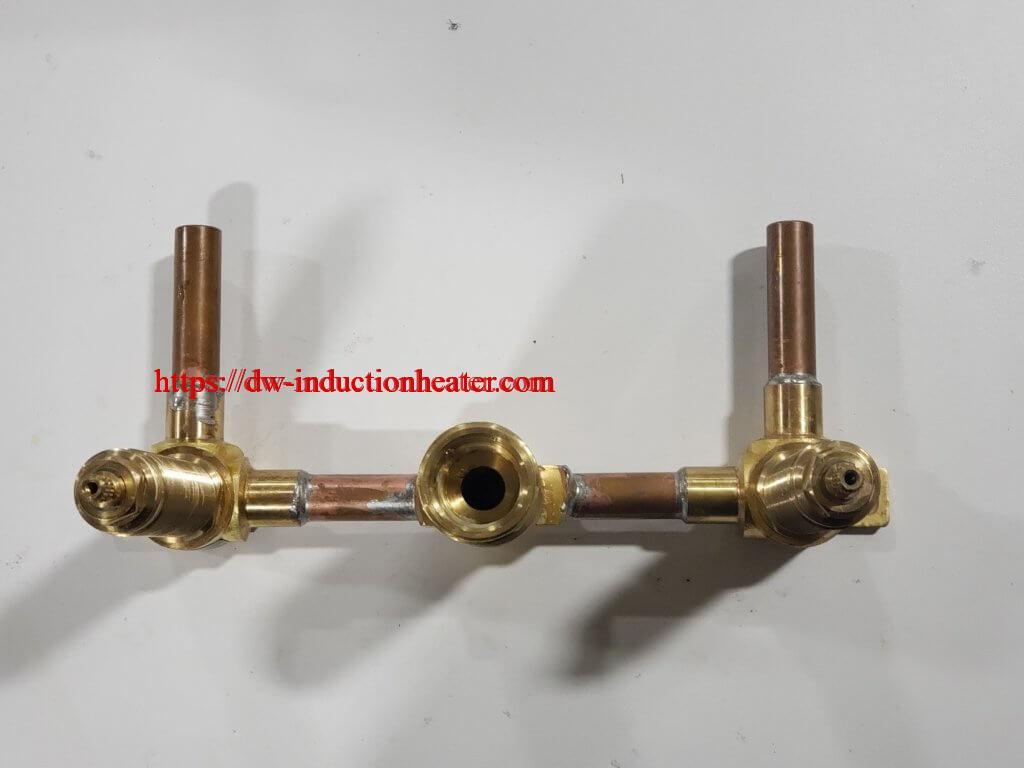
The Process:
This application request was brought to HLQ Induction Heating Power’s attention by a HVAC company. Their goal was to eliminate their current use of the torch method, as well as remove defects and improve the safety for operators. To start the test, our applications engineer assembled the setup of copper tubing and brass valves. After applying flux to each joint the engineer heated them for 20 seconds. Solder was manually applied after the joints reached 932oF (500C), and created an even solder around the joints.  The use of induction heating was successful in this HVAC application.
https://dw-inductionheater.com/induction-soldering-copper-tubing-to-brass-valves.html?feed_id=239798&_unique_id=660ce5349a514

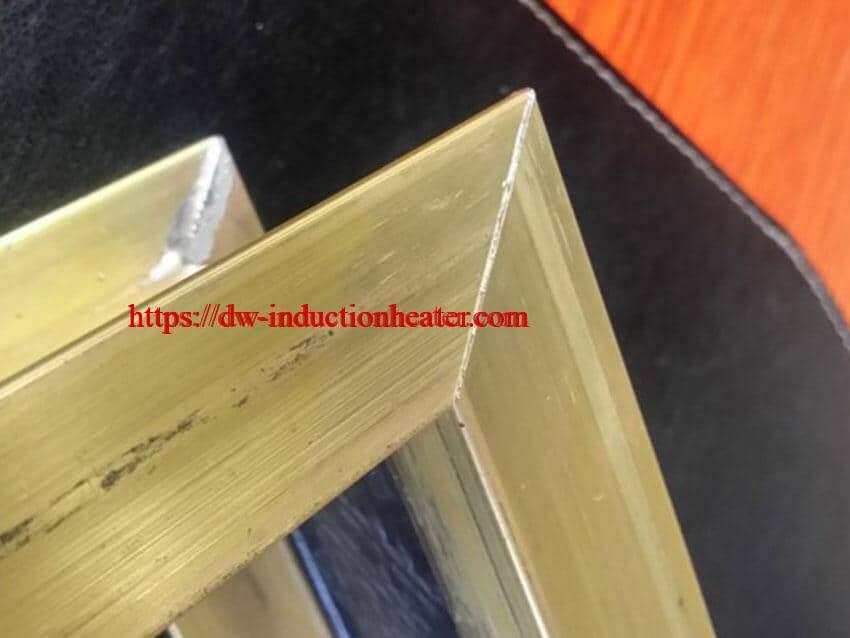
Induction Soldering Brass Corner Joint

Hig Frequency Induction Soldering Brass Corner Joint

Objective Successfully solder two 45° brass corner joints. Equipment: DW-UHF-10kw induction soldering heater Materials StayBrite #8 silver solder supplied by customer Bridgit solder flux supplied by customer Brass corner joint Pancake coil Key Parameters Power: 5.5 kW Temperature: Approximately 550° F (288° C) Time: 20 sec
Process:
  1. Flux is applied at all joints.
  2. The assembly is positioned into for heating
  3. Induction heating is applied for 15 sec
  4. The brazing rod is applied to the joint
Results/Benefits:
  1. Since the brazing alloy is manually fed, the coil is placed under the joint, facing the visible side of the frame. The visible side of the joint is laying on a flat wooden surface, which does not allow the brazing alloy to leak and spill. This keeps the visible surface nice and clean, while the seam is internally brazed.
  2. If solder paste is used, then the coil can be placed on top of the joint. If special dual coil is used, then both joints (top and bottom) can be done with one shot.
  3. No frame flipping is needed in this case. See the video and zoom the pictures attached for more details.
  4. No special cleaning is needed on either side of the joint. The samples on the pictures have been paper towel wiped only.
https://dw-inductionheater.com/induction-soldering-brass-corner-joint.html?feed_id=239730&_unique_id=660c2e3872b24

2024年4月1日星期一

Induction Soldering Copper Wire Connectors

Objective The objective of this application test is to determine heating times for induction soldering copper wire connectors onto a copper coaxial cable. The customer would like to replace hand soldering with soldering irons, with induction soldering. Hand soldering can be labor intensive, and the resulting solder joint is highly dependent on the skill of the operator. Induction soldering allows finite process control, and provides a consistent result.
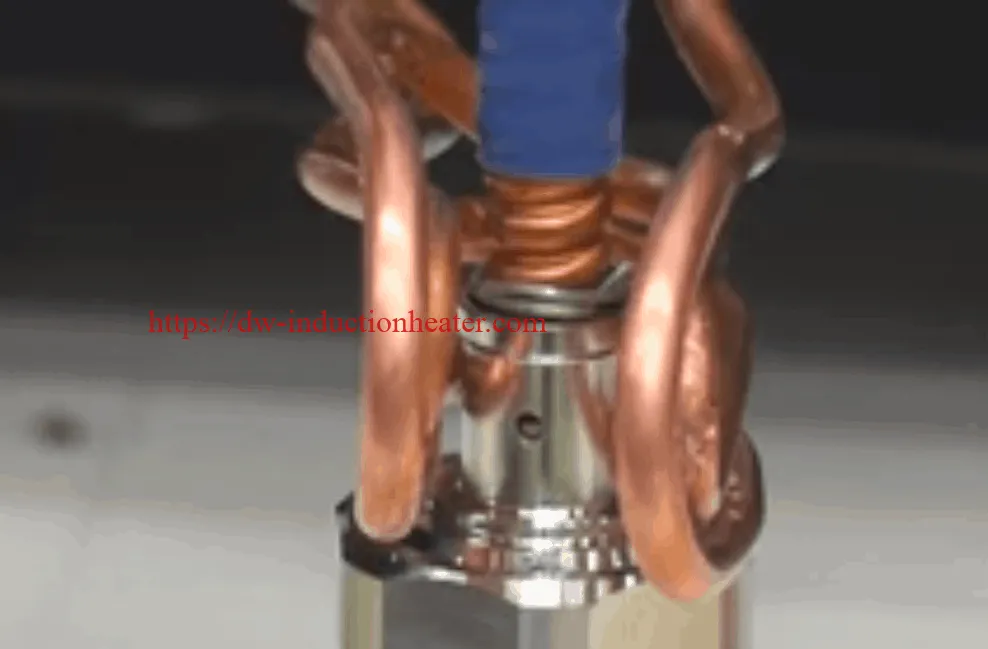
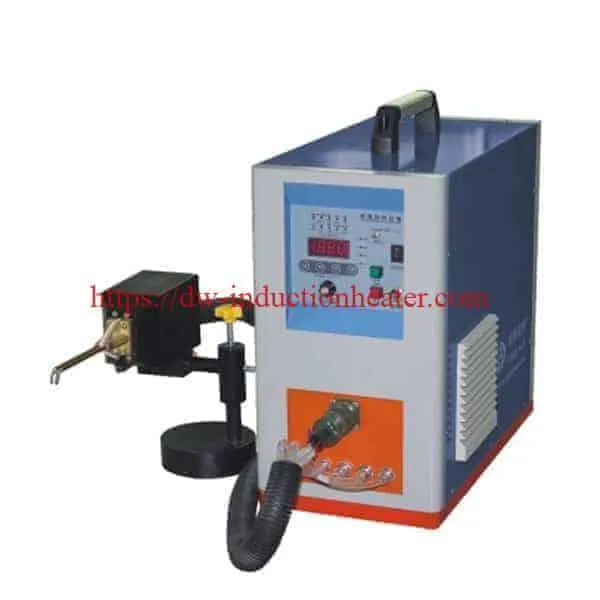
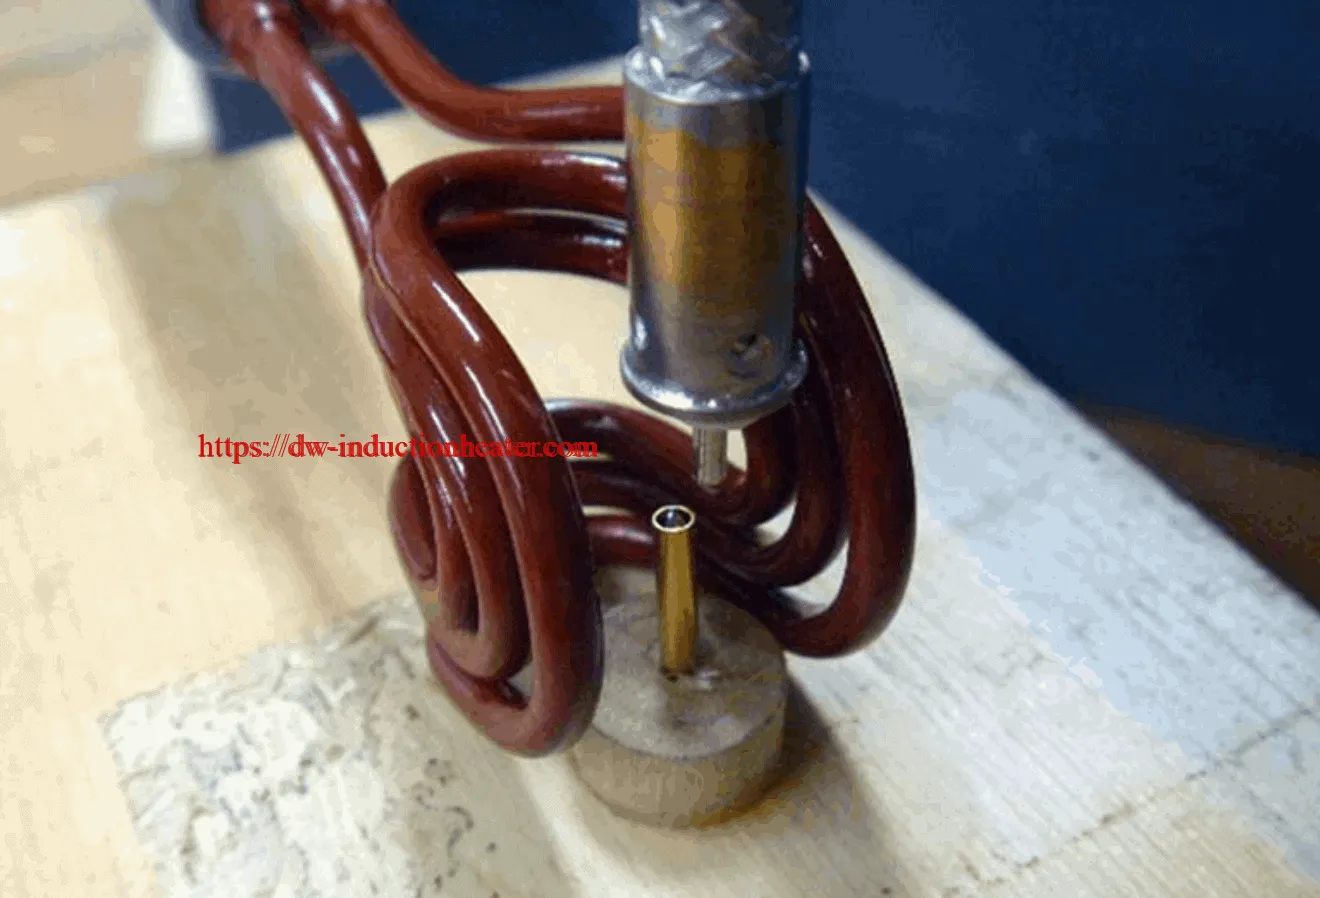
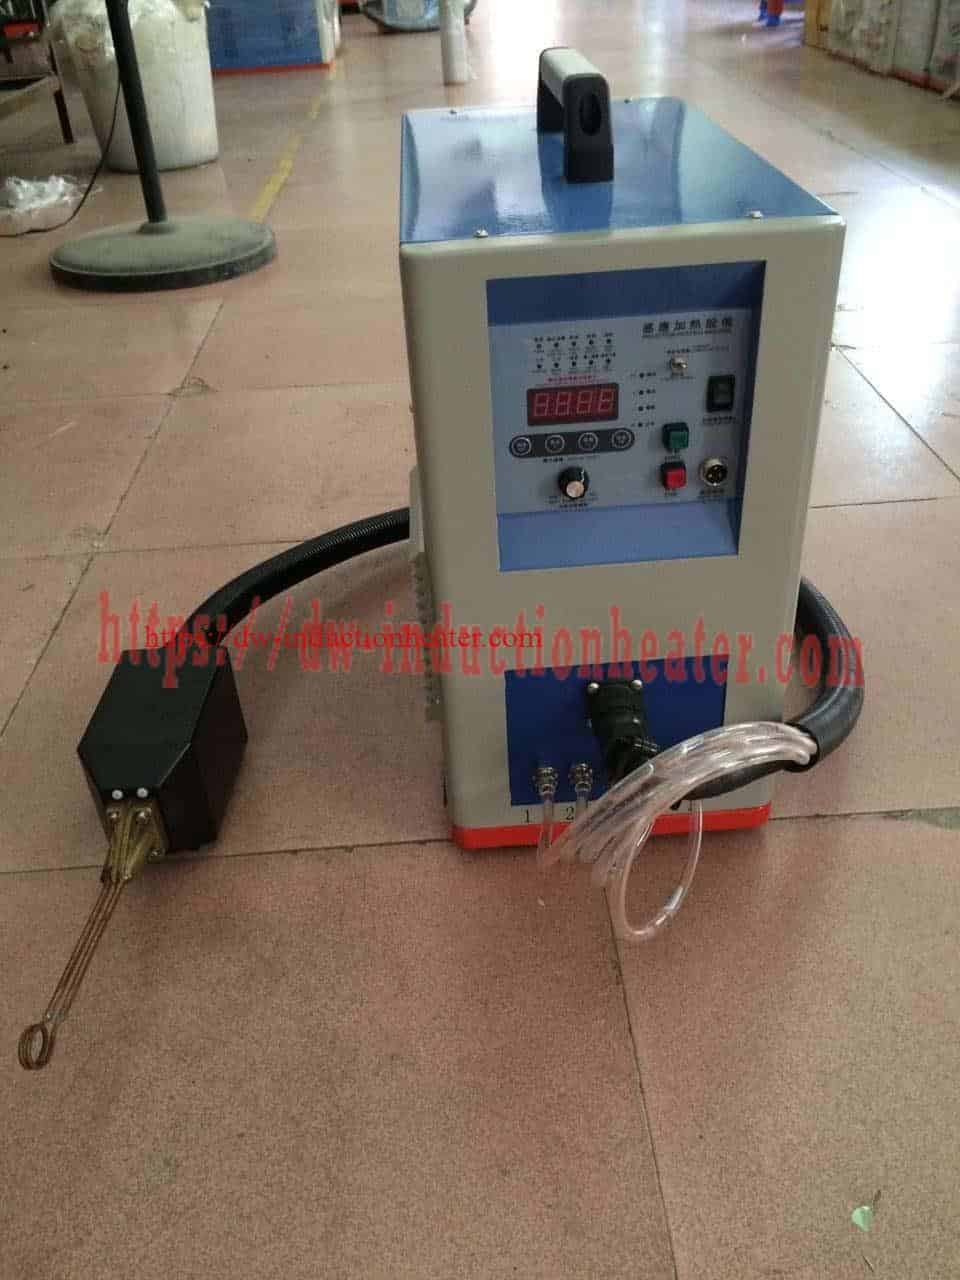
Equipment DW-UHF-6KW-III handheld induction brazing heater handheld inductino heaterMaterials • Copper coaxial cable • Plated copper connectors • Copper bullet-shaped internal connector • Copper pin-shaped internal connector • Solder wire • Carbon steel
Test 1: Soldering Copper Coax Center Conductor to Bullet-Shaped Center Pin Key Parameters Temperature: ~400°F (204°C) Power: 1.32 kW Time: 3 seconds for bullet connector
Test 2: Soldering Copper Coax center conductor to Needle-Shaped Center Pin Key Parameters Temperature: ~400°F (204°C) Power: 1.32 kW Time: 1.5 second for needle connector
Test 3: Soldering Copper Coax to the End Connector (Bullet-Shaped Center Pin) Key Parameters Temperature: ~400°F (204°C) Power: 1.8 kW Time: 30 seconds of heating time, followed by a 10 second cooling cycle
Test 4: Soldering Copper Coax to the End Connector (Needle-Shaped Center Pin) Key Parameters Temperature: ~400°F (204°C) Time: 30 seconds of heating time, followed by a 10 second cooling cycle
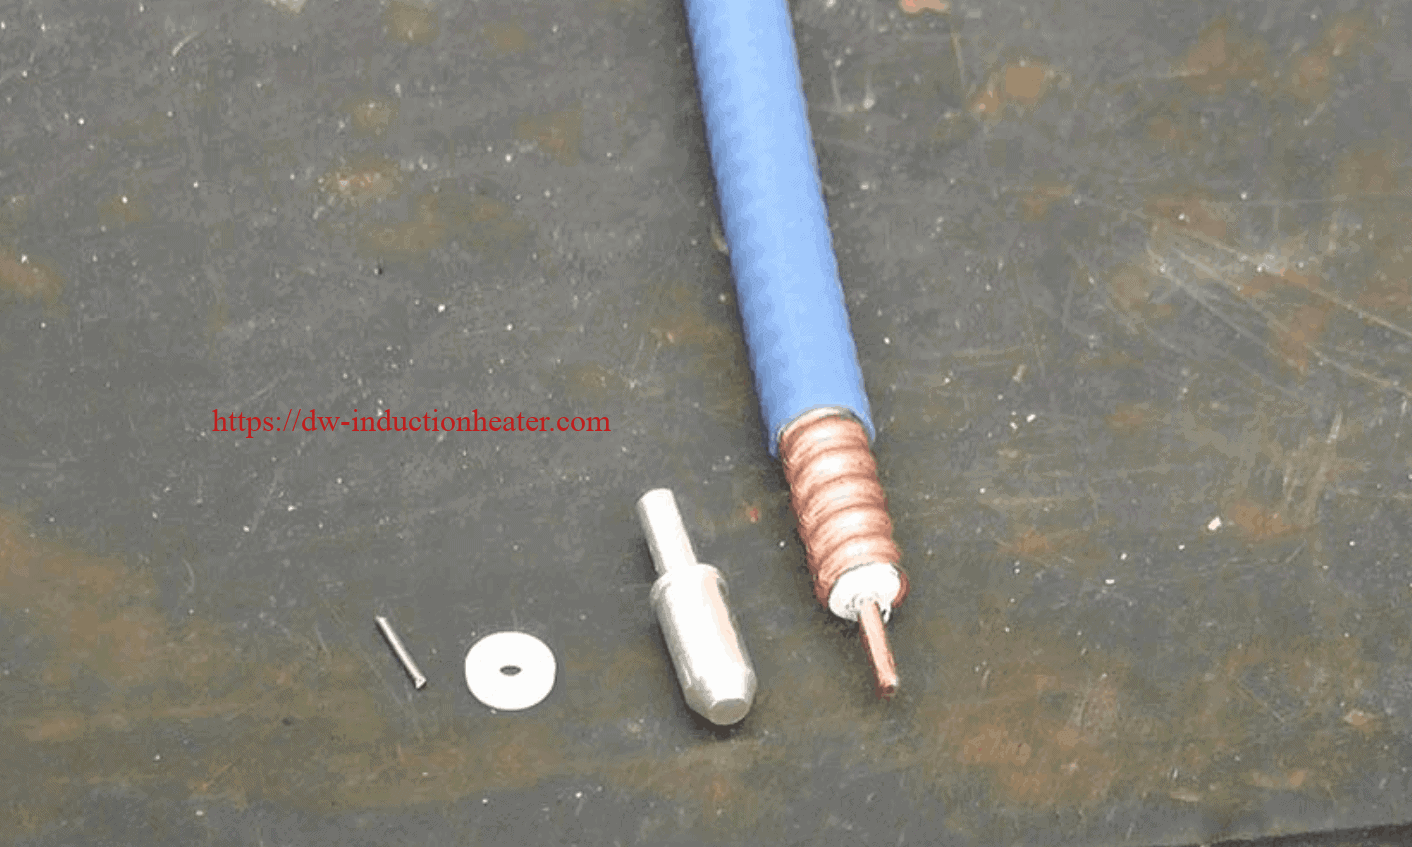
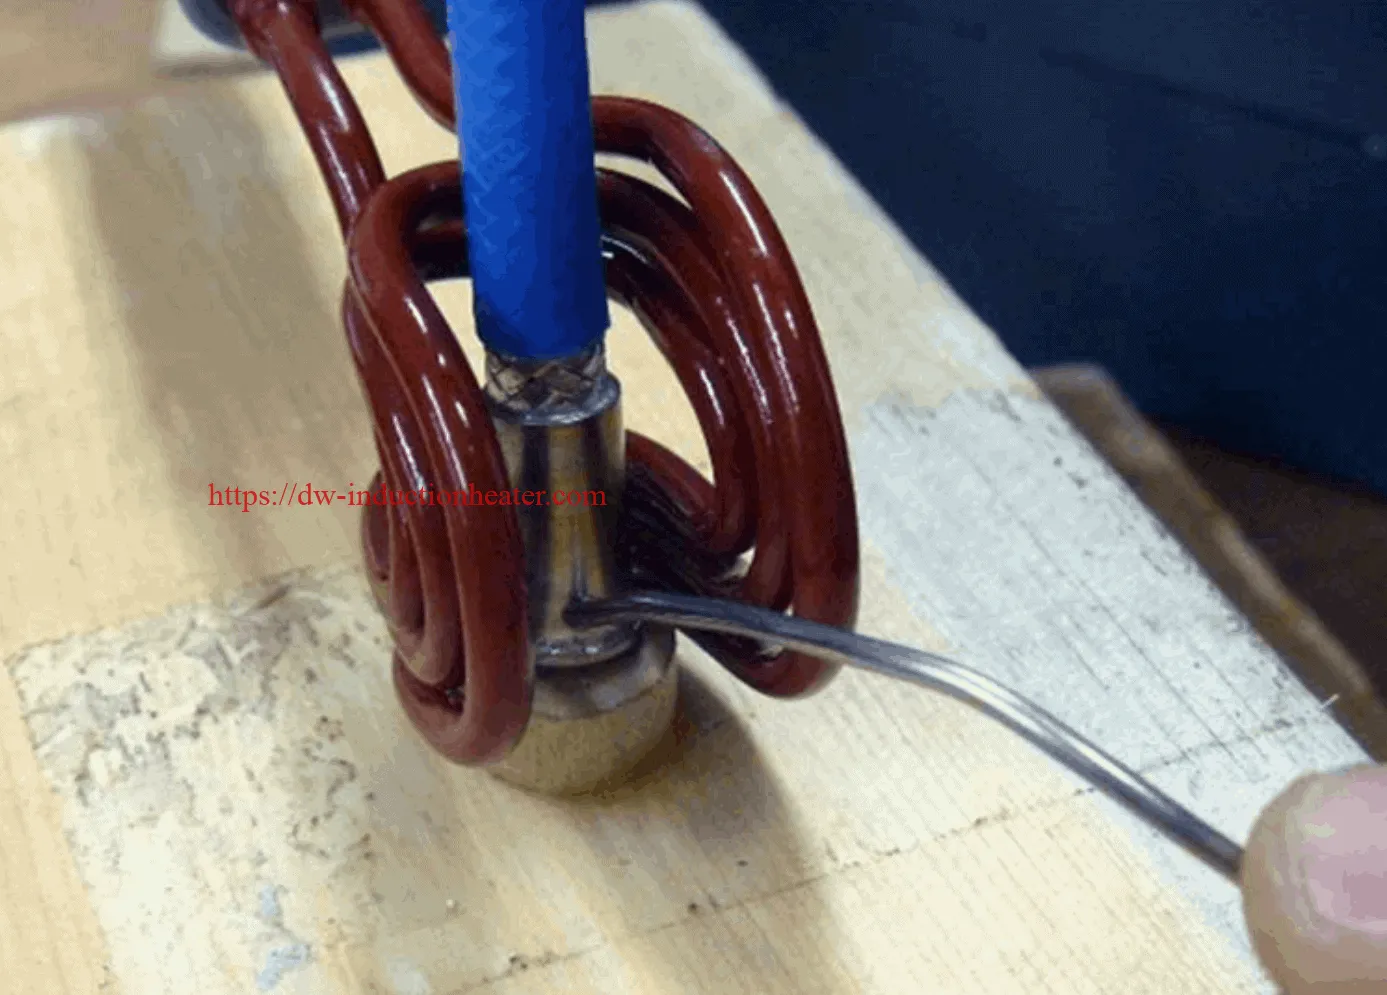
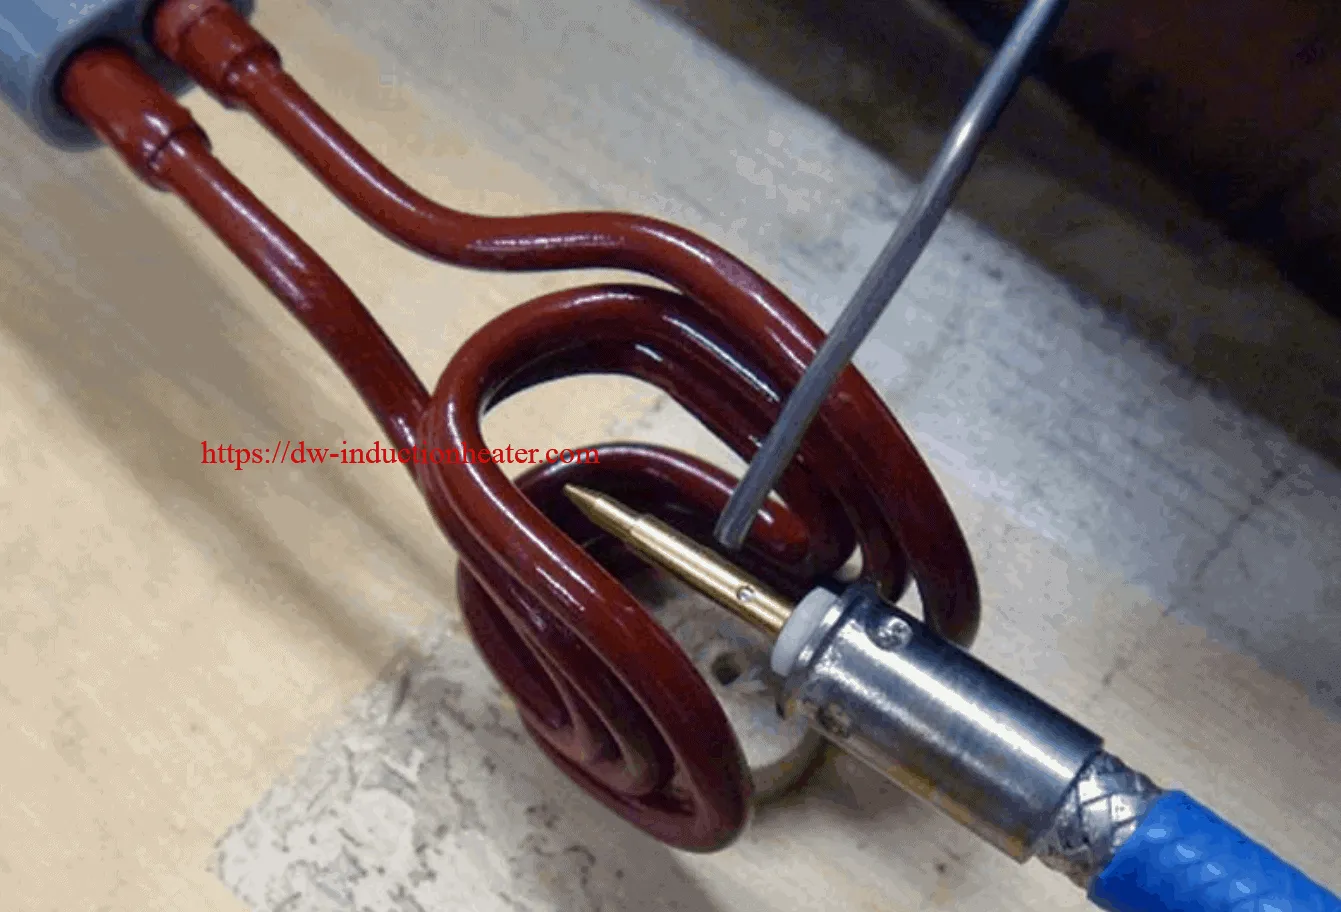
Process: For each type of center pin, the soldering process has two steps. First, soldering the center pin (bullet-shaped or needle-shaped) to the center conductor of the coaxial cable; and second, soldering the coaxial cable with the pin into the end connector Tests 1 and 2: Soldering copper coax center conductor to the connector center pin
  1. The internal connector pin (needle and bullet followed the same process) were assembled to the coaxial cable center conductor. A solder slug roughly ½ the length of the pin where the wire is to be soldered, was cut and placed in the receiving end of the center pin. The copper conductor of the coax was positioned to rest on the solder slug in the pin with light pressure downward.
  2. The assembly was placed into a two-turn induction coil, and power was turned on.
  3. As the solder melted, the copper conductor of the coax seated into the center pin. The assembly was held still for several more seconds as the solder cooled. Note: it is important to keep the solder joint still until it has cooled. If movement occurs, a “cold” solder joint can result.
Tests 3 and 4: Soldering copper screw-type end connector to the Center Pin
  1. Solder wire was wound around the corrugated flutes of the coax. The coax with solder was placed into the end connector.
  2. The assembly was placed into a u-shaped induction coil, and power was turned on.
  3. Heat time – 30 seconds for either assembly followed by a 10 second hold to let the alloy solidify.
Results/Benefits: The soldering was successful, and confirmed that induction soldering copper wire connectors is an excellent alternative to hand soldering.
  • Precise control of the time and temperature
  • Power on demand with rapid heat cycles
  • Repeatable process, not operator dependent
  • Safe heating with no open flames
  • Energy efficient heating
https://dw-inductionheater.com/induction-soldering-copper-wire-connectors.html?feed_id=239662&_unique_id=660b7791d841c

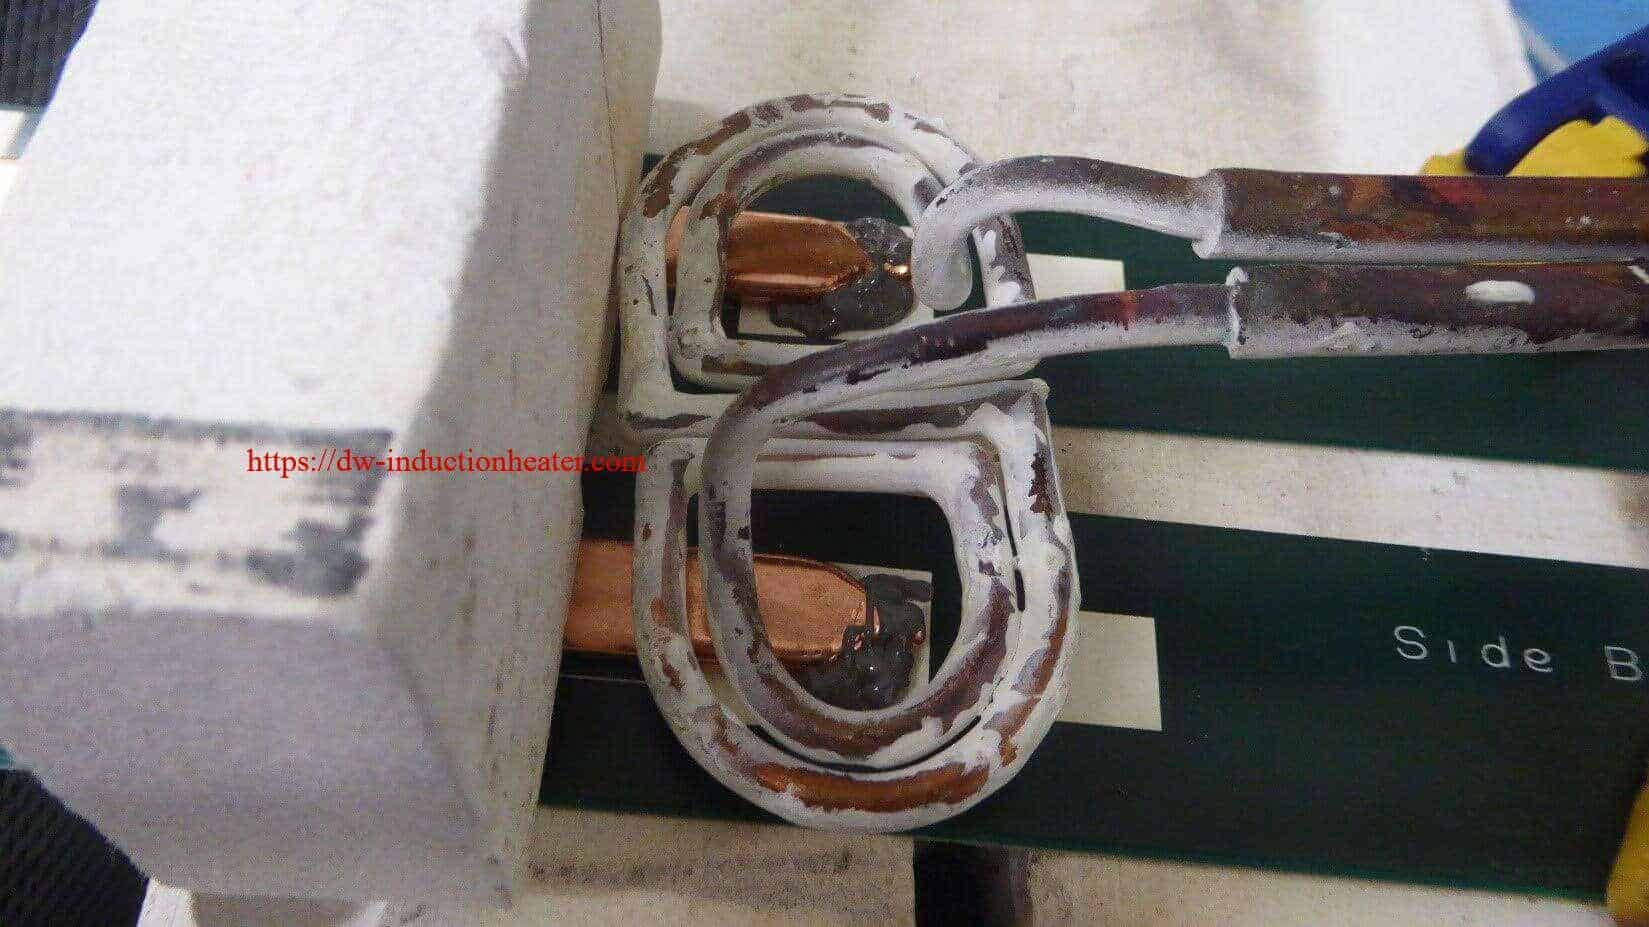
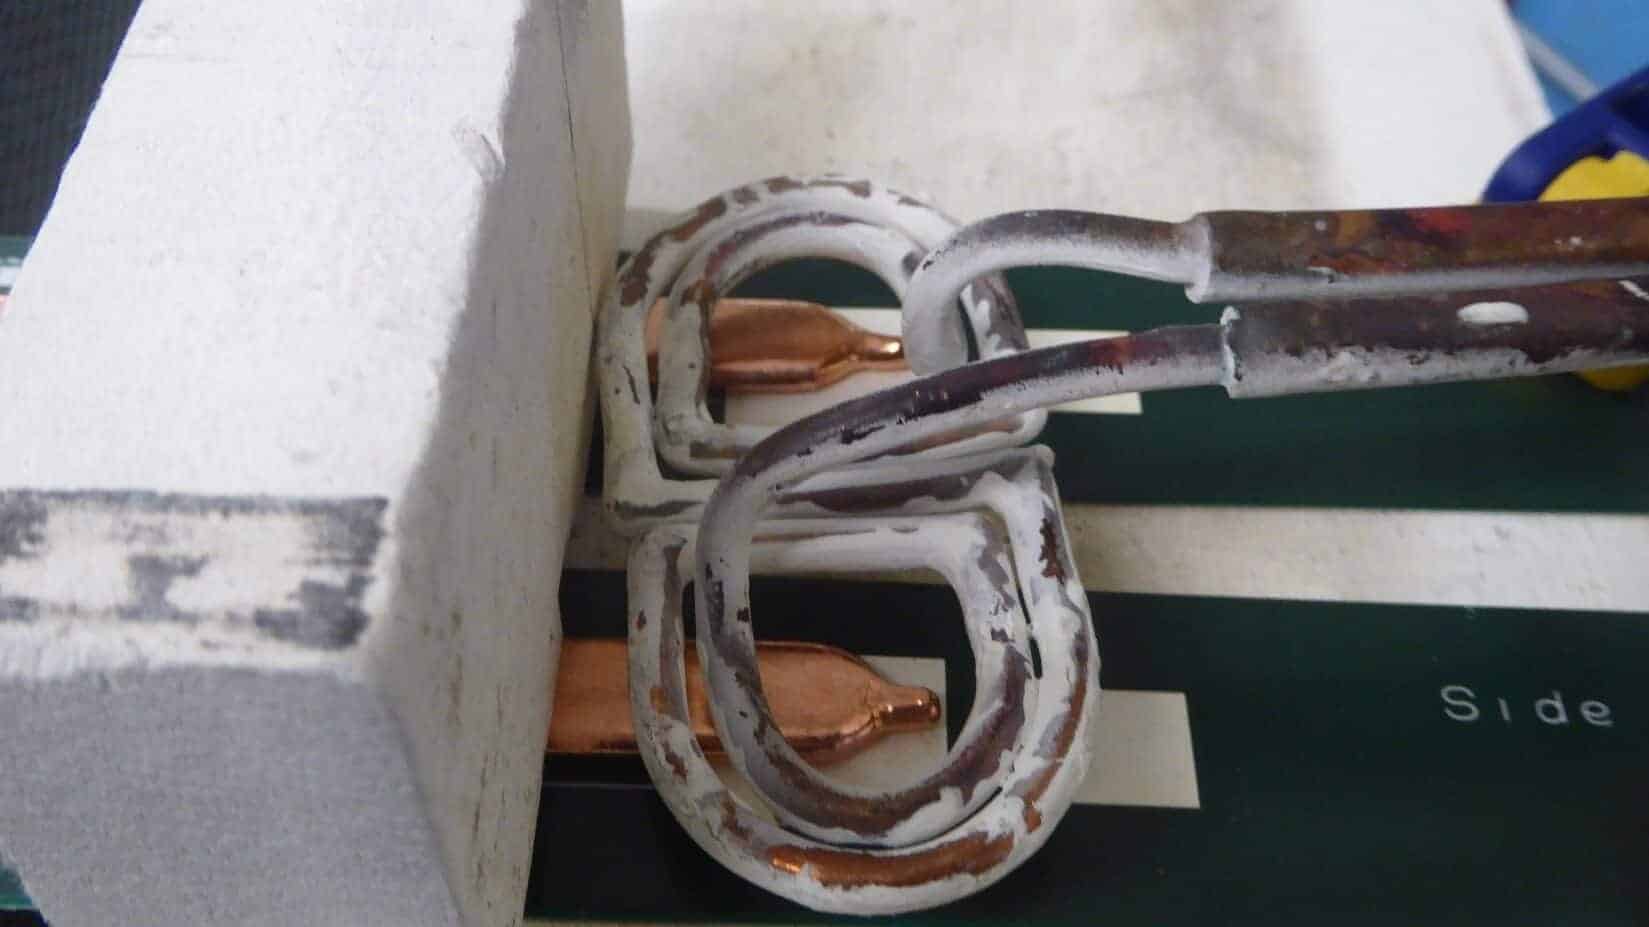
Induction Soldering Copper Pipes to PCB Board

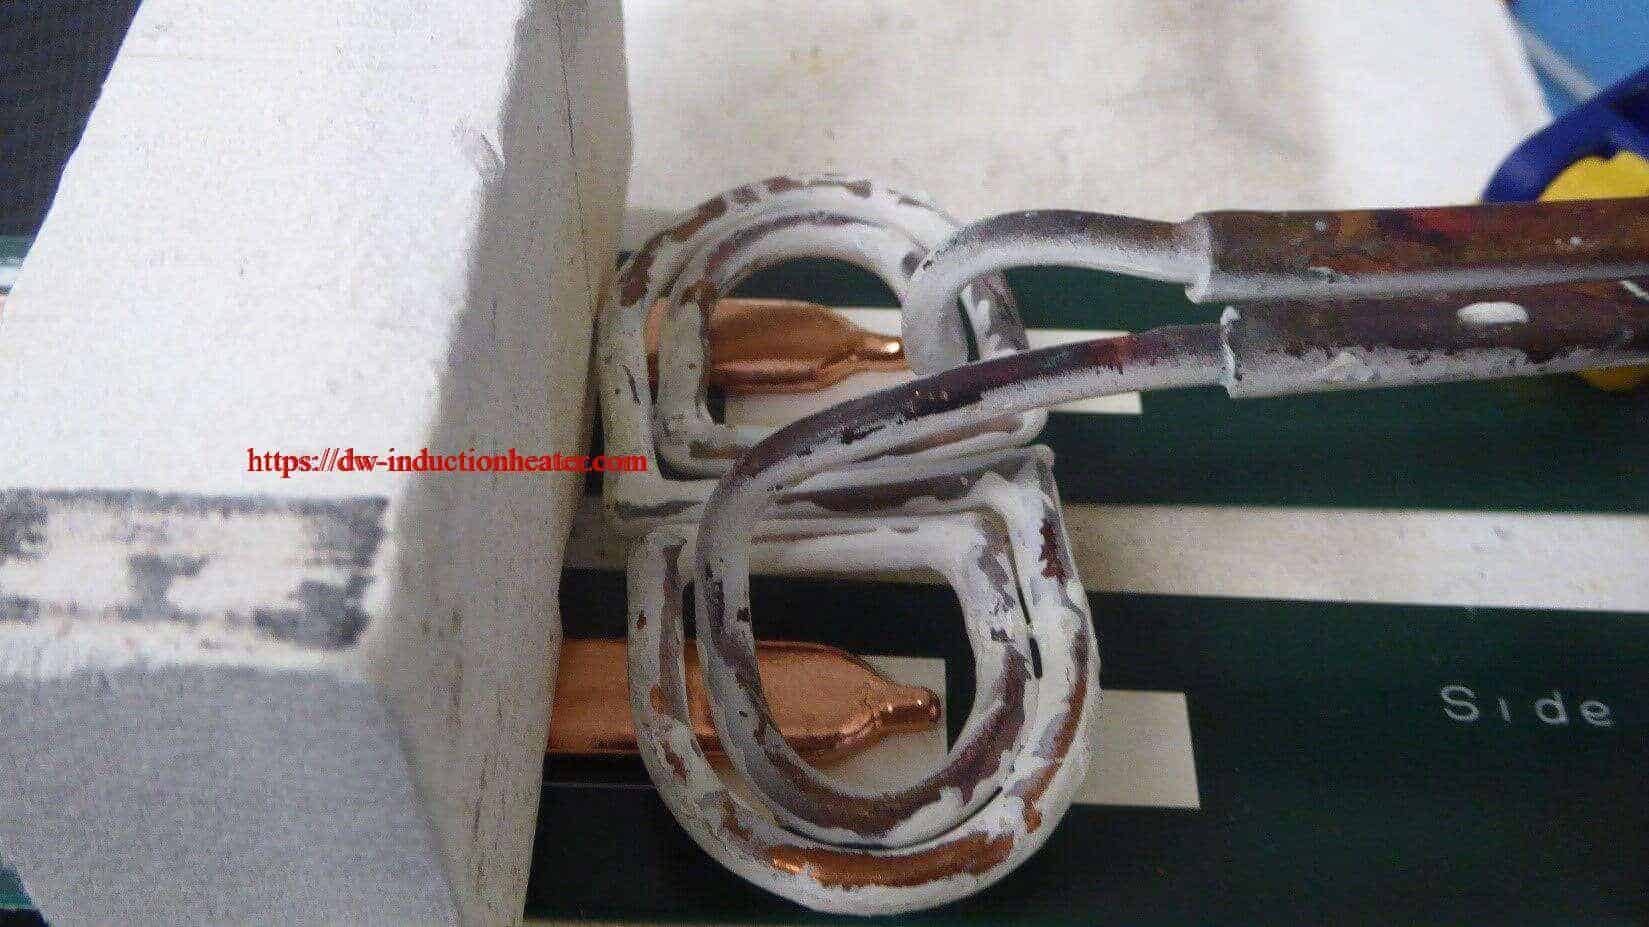
Objective: Test –Induction Soldering Copper Pipes to PCB Board Industry: Medical & Dental Materials: Flat copper pipes, PCB board Alloy: Low-temperature solder paste
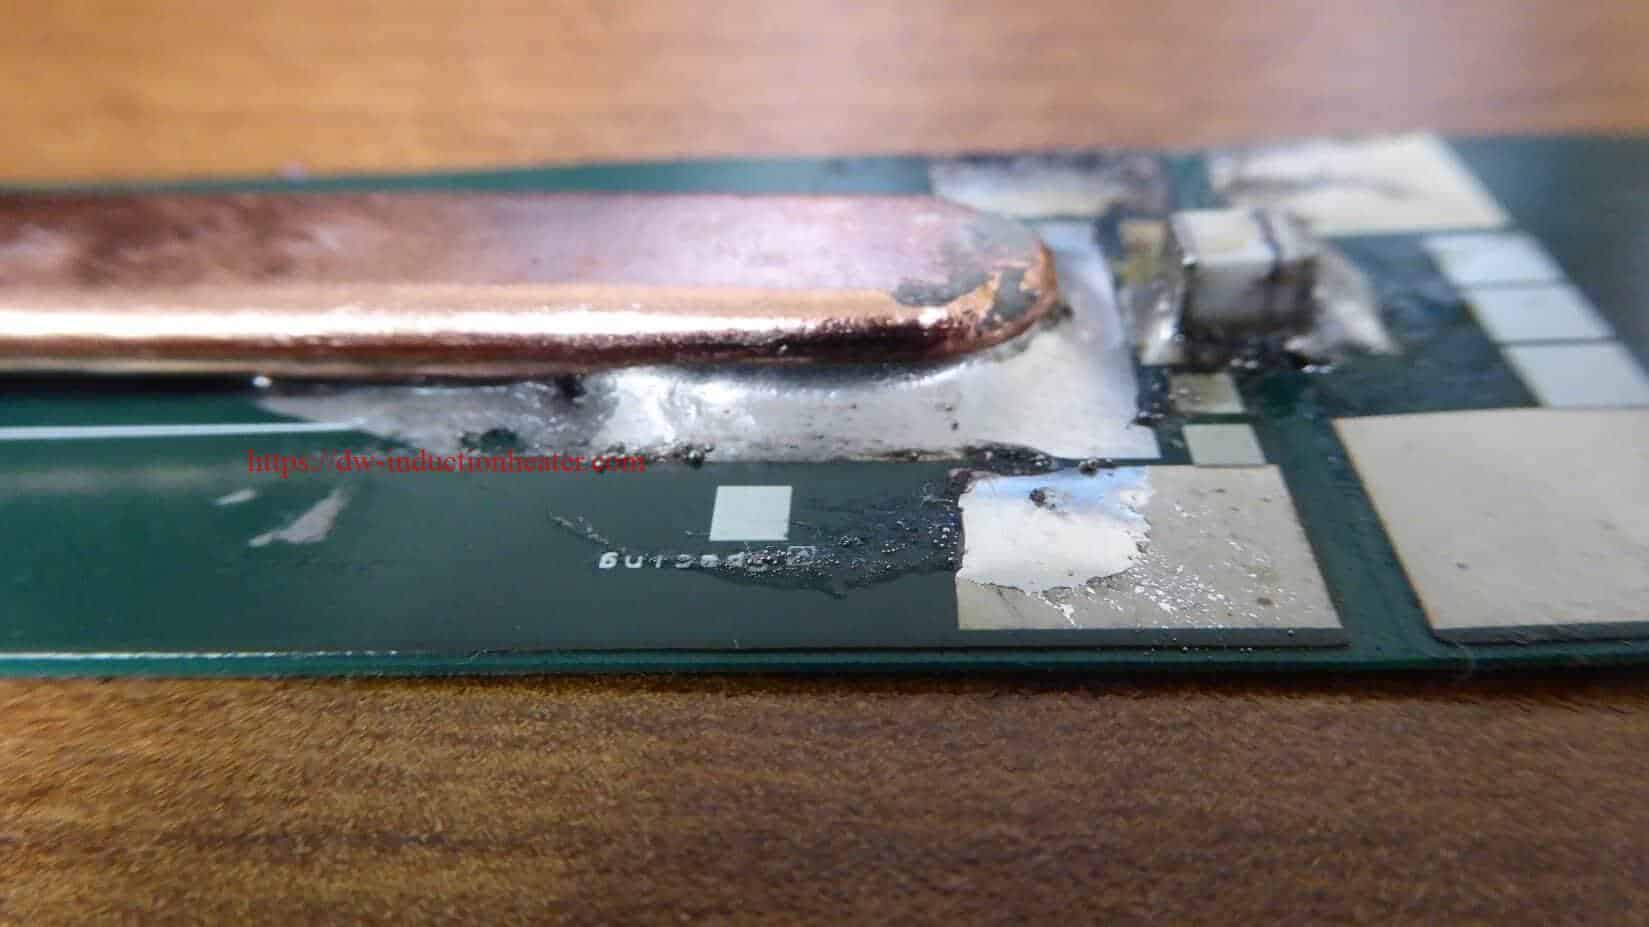
Equipment: DW-UHF-6KW-I Handheld Induction Heater portable induction heating units Power: 1.88 kW Time: 15 secs. Coil: Coated custom-made coil. The Process: HLQ was contacted by a leading manufacturer of clinical diagnostic equipment who is striving to drive innovation in the Magnetic Resonance Imaging (MRI) technology. The flat pipes, featured in this heating application, are used to transfer heat with minimal temperature difference or spread the heat across a surface. Our induction heating solution helped the client to cut manufacturing time which previously took 1 hour to produce 16 soldered copper heat pipes. The DW-UHF-6KW-I handheld induction heating power supply along with a heat station successfully performed the soldering process in approximately 15 seconds. We also used one of our custom-made induction coils with cement coasting to ensure that the coil will not suffer mechanical damage. To perform the test, we positioned the induction soldering copper pipes onto two flat pads containing low-temperature solder paste. Induction heating ensures complete repeatability. There is a significant reduction in cycle time and increased efficiency as now multiple parts can be soldered simultaneously.
https://dw-inductionheater.com/induction-soldering-copper-pipes-to-pcb-board.html?feed_id=239594&_unique_id=660ac11a870da

2024年3月29日星期五

Induction Soldering Cables to Terminals

Objective Induction Soldering cables to terminals in under 20 seconds using induction.
Equipment DW-UHF-6KW-I handheld induction heater Materials • 0.078″2 (50mm2) cable terminal • 0.078″2 (50mm2) cable • Soldering alloy Sn60Pb38Cu2 Key Parameters Power: 2.8 kW Time: 15-20 sec Temperature: 500° F (260° C)
Process:
  1. The 0.078″2 (50mm2) cable terminal is attached to 0.078″2 (50mm2) cable
  2. The assembly is positioned inside the coil and induction heating is applied.
  3. Time to temperature is about 4 -5 sec. The temperature is maintained constant to complete the soldering process. A foot switch is used to start and stop the machine.
  4. After 15-20 sec, the cable and cable terminal are successfully soldered.
Results/Benefits: Suitable induction heating systems for the process: DW-UHF-6KW-I handheld induction heater The DW-UHF-6KW-I handheld induction heater will require a longer time to reach temperature and complete soldering. Induction heating provides:
  • Strong durable joints
  • Selective and precise heat zone, resulting in less part distortion and joint stress
  • Less oxidation
  • Faster heating cycles
  • More consistent results and suitability for large volume production, without the need for batch processing
  • Technology without pollution, which is clean and safe
https://dw-inductionheater.com/induction-soldering-cables-to-terminals.html?feed_id=239091&_unique_id=660678285e759

2024年3月28日星期四

Induction Soldering Coaxial Cable to Connector Ring

Objective Induction Soldering coaxial cable to connector ring and pin in two steps in under 5 seconds by reaching a temperature of 500°F (260°C) with induction heating.
Equipment  DW-UHF-6KW-I handheld induction Soldering Heater Materials • No-flux solder wire • Coaxial cable • Cable connector • Center pin Key Parameters Power: 1.0kW Temperature: 662°F (350°C) Time: 5 sec
Process:
  1. The coaxial cable and connector were placed vertically inside the coil.
  2. Induction heating was applied for 3 seconds, at which point the part is hot enough for soldering.
  3. The soldering wire was fed between the cable braid and connector.
  4. Solder wire was inserted into the center pin, and the center pin was placed in the coil.
  5. The cable with connector was placed above the pin.
  6. Induction heating was applied for 1.5 seconds, after which the part was hot enough for soldering.
  7. The center conductor was inserted into the pin.
  8. The assembly was inspected to ensure that the induction soldering was successful.
Results/Benefits:
  • Strong durable joints and faster heating cycles
  • Selective and precise heat zone, resulting in less part distortion and joint stress
  • Technology without pollution, which is both clean and safe
 
https://dw-inductionheater.com/induction-soldering-coaxial-cable-to-connector-ring.html?feed_id=239023&_unique_id=6605c12449b39

2024年3月12日星期二

Induction Soldering PCB Board with Copper Pipe

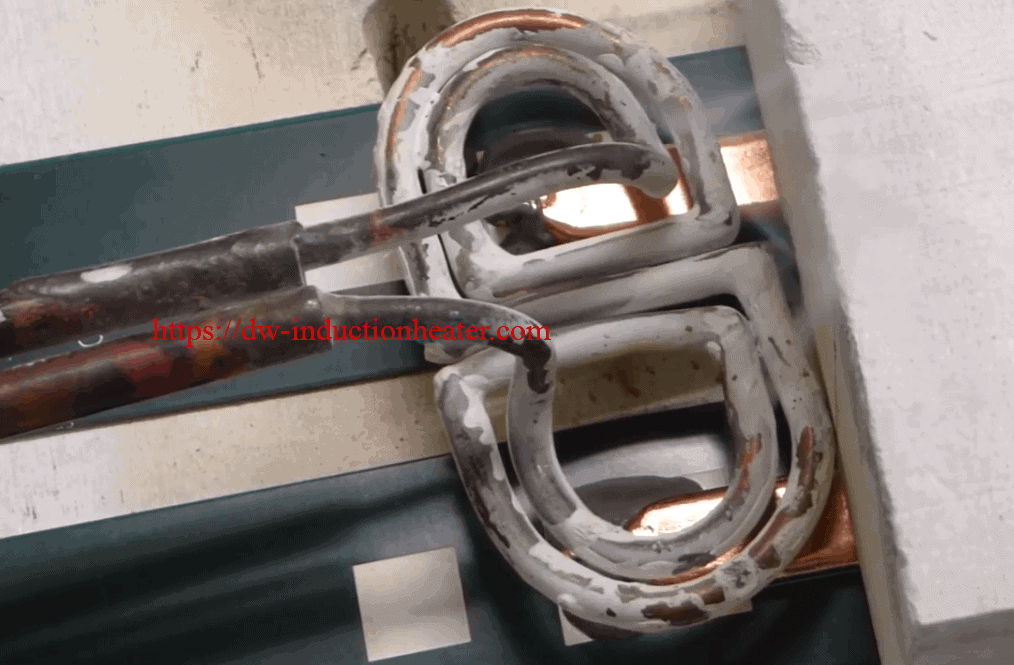
Objective: Induction Soldering PCB Board with Copper Industry: Medical & Dental Materials: Flat copper pipes, PCB board Alloy: Low-temperature solder paste
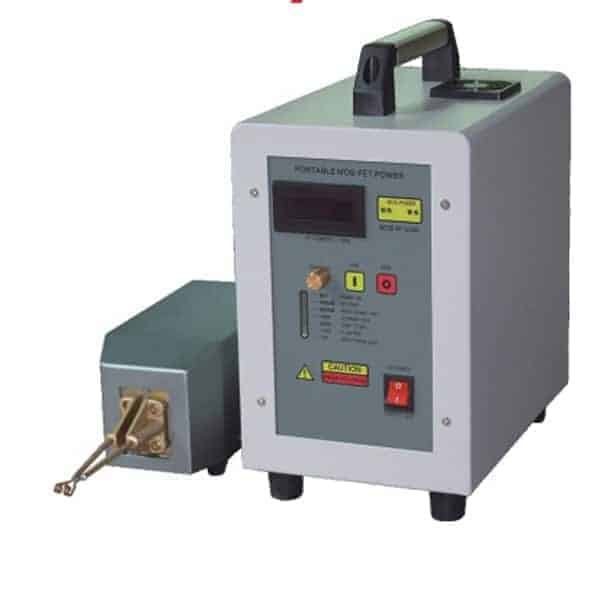
Equipment: DW-UHF-6KW-III handheld induction brazing machine Handheld induction brazing heaterPower: 3.88 kW Time: 8 secs. Coil: Coated custom-made coil. The Process: HLQ was contacted by a leading manufacturer of clinical diagnostic equipment who is striving to drive innovation in the Magnetic Resonance Imaging (MRI) technology. The flat pipes, featured in this heating application, are used to transfer heat with minimal temperature difference or spread the heat across a surface. Our induction heating solution helped the client to cut manufacturing time which previously took 1 hour to produce 16 soldered copper heat pipes. The DW-UHF-6kw-III induction heating power supply along with a heat station successfully performed the soldering process in approximately 8 seconds. We also used one of our custom-made induction coils with cement coasting to ensure that the coil will not suffer mechanical damage. To perform the test, we positioned the copper pipes onto two flat pads containing low-temperature solder paste. Induction heating ensures complete repeatability. There is a significant reduction in cycle time and increased efficiency as now multiple parts can be soldered simultaneously. [wpforms id="3947"]
https://dw-inductionheater.com/induction-soldering-pcb-board-with-copper-pipe.html?feed_id=236260&_unique_id=65f054b5ea217

2024年3月10日星期日

Induction Soldering Coaxial Cable

Objective Induction Soldering coaxial cable to connector ring and pin in two steps in under 5 seconds by reaching a temperature of 500°F (260°C) with induction heating.
Equipment DW-UHF-6KW-III handheld induction heater Handheld induction brazing heater Channel coil Materials • No-flux solder wire • Coaxial cable • Cable connector • Center pin Key Parameters Power: 3.0kW Temperature: 662°F (350°C) Time: 5 sec
Process:
  1. The coaxial cable and connector were placed vertically inside the coil.
  2. Induction heating was applied for 3 seconds, at which point the part is hot enough for soldering.
  3. The induction soldering wire was fed between the cable braid and connector.
  4. Solder wire was inserted into the center pin, and the center pin was placed in the coil.
  5. The cable with connector was placed above the pin.
  6. Induction heat was applied for 1.5 seconds, after which the part was hot enough for soldering.
  7. The center conductor was inserted into the pin.
  8. The assembly was inspected to ensure that the soldering was successful.
Results/Benefits:
  • Strong durable joints and faster heating cycles
  • Selective and precise heat zone, resulting in less part distortion and joint stress
  • Technology without pollution, which is both clean and safe
[wpforms id="3947"]
https://dw-inductionheater.com/induction-soldering-coaxial-cable.html?feed_id=235992&_unique_id=65ed79a0e0191

关注者

我的简介

我的照片
HLQ induction heating machine manufacturer provides the service of induction brazing,melting,hot forming,hardening surface,annealing,shrink fitting,PWHT,etc.